Wearing wigs is a fantastic way to express your style and protect your natural hair. If you’re a black woman who loves to rock different looks, you’ve likely considered dyeing your wig to achieve that perfect shade. In this step-by-step guide, we’ll walk you through dyeing your wig, sharing valuable insights, tips, and product recommendations for a stunning transformation.
Step 1: Gather Your Supplies
Before you begin, gather the following supplies:
- Wig (preferably made of human hair)
- Hair dye (choose a high-quality, ammonia-free brand)
- Plastic or glass bowl
- Wide-tooth comb
- Gloves
- Hair clips
- Plastic wrap or a shower cap
- Old t-shirt or apron
- Timer
- Shampoo and conditioner
Step 2: Prepare Your Workspace
Find a well-ventilated area, preferably in your bathroom or a space with easy-to-clean surfaces. Lay down the old T-shirt or apron to protect your clothes.
Step 3: Detangle the Wig
Place the wig on a wig stand or a mannequin head. Gently detangle it using a wide-tooth comb. Start from the end and work your way up to prevent damage.
Step 4: Mix the Hair Dye
Follow your hair dye kit instructions to mix the dye in a plastic or glass bowl. Make sure to wear gloves to avoid staining your hands.
Step 5: Strand Test
Before applying the dye to your entire wig, perform a strand test on a small, inconspicuous section of the wig. Ensures you’re happy with the color and that there are no adverse reactions.
Step 6: Apply the Dye
Section your wig into manageable parts using hair clips. Apply the dye evenly to each section, starting from the roots and working your way down. Use a brush or your gloved hands for application.
Step 7: Set a Timer
After applying the dye, set a timer according to the manufacturer’s instructions. This ensures you don’t overprocess the hair, which can lead to damage.
Step 8: Rinse and Condition
Once the timer goes off, rinse the wig with lukewarm water until the water runs clear. Then, apply a deep conditioner to restore moisture and maintain the wig’s quality. Rinse again and let it air dry.
Step 9: Style and Rock Your New Look
After your dyed wig is dry, style it as desired. Whether you prefer curls, waves, or straight hair, you’ll be ready to step out with confidence and style.
Insights and Tips:
- Choose a wig made of human hair for the best results, as it can be dyed like natural hair.
- Avoid using bleach on your wig, as it can cause irreversible damage.
- Always perform a strand test to confirm the desired color and avoid unexpected outcomes.
- Use sulfate-free shampoo and conditioner to maintain your dyed wig’s vibrancy.
- Protect your wig from direct sunlight to prevent fading.
Product Recommendations:
- Hair Dye: Opt for reputable brands like Clairol, L’Oréal, or Schwarzkopf.
- Gloves: Latex or nitrile gloves are essential to protect your hands.
- Deep Conditioner: Invest in high-quality conditioners like the Shea Moisture Jamaican Black Castor Oil Treatment Masque.
Dyeing your wig can be fun and empowering to experiment with your style. Following these steps and tips, you can confidently transform your wig into a vibrant, personalized accessory that complements your beauty. So, gather your supplies, set your intentions, and enjoy the journey to a stunning, newly dyed wig that you can proudly rock!
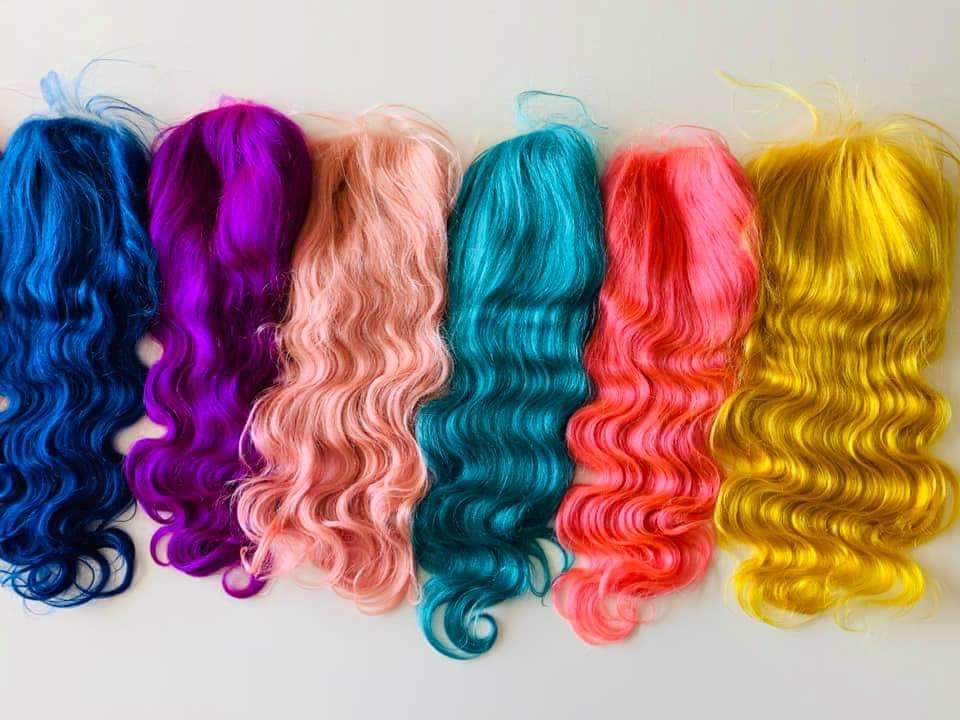
Shop – Color Styles
Enjoy other articles by – Style Blog
 No products in the cart.